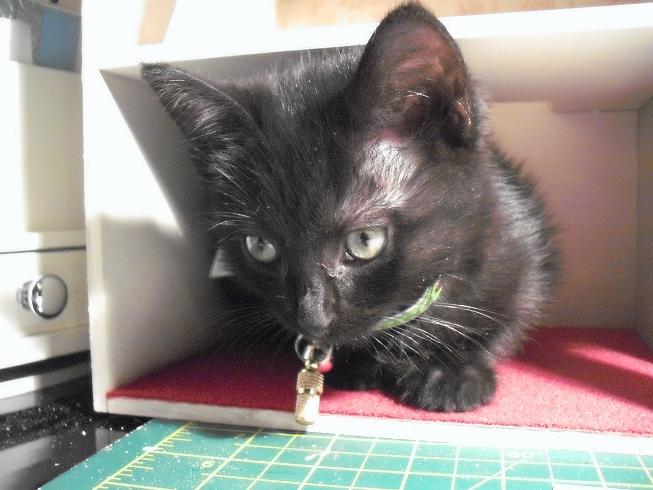
I used spare shingles to make a teeny bird house
Showing posts with label dolls house. Show all posts
Tuesday, 15 December 2015
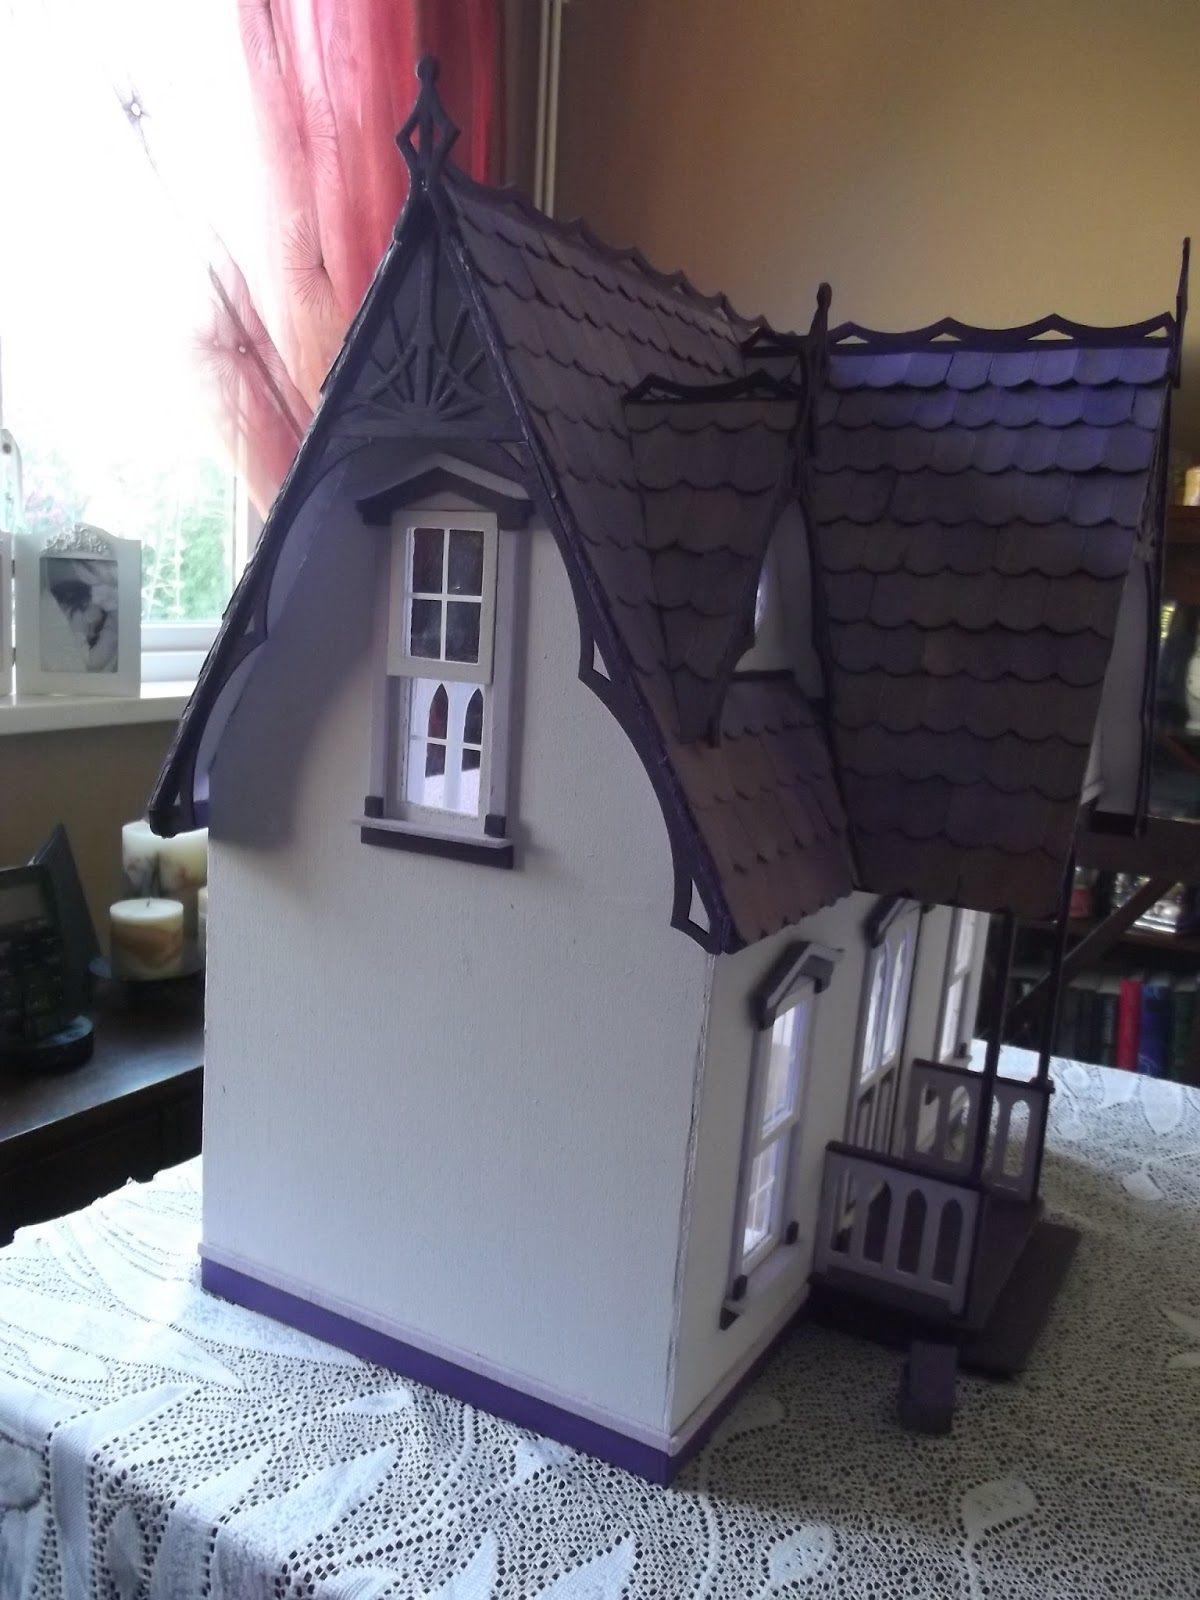
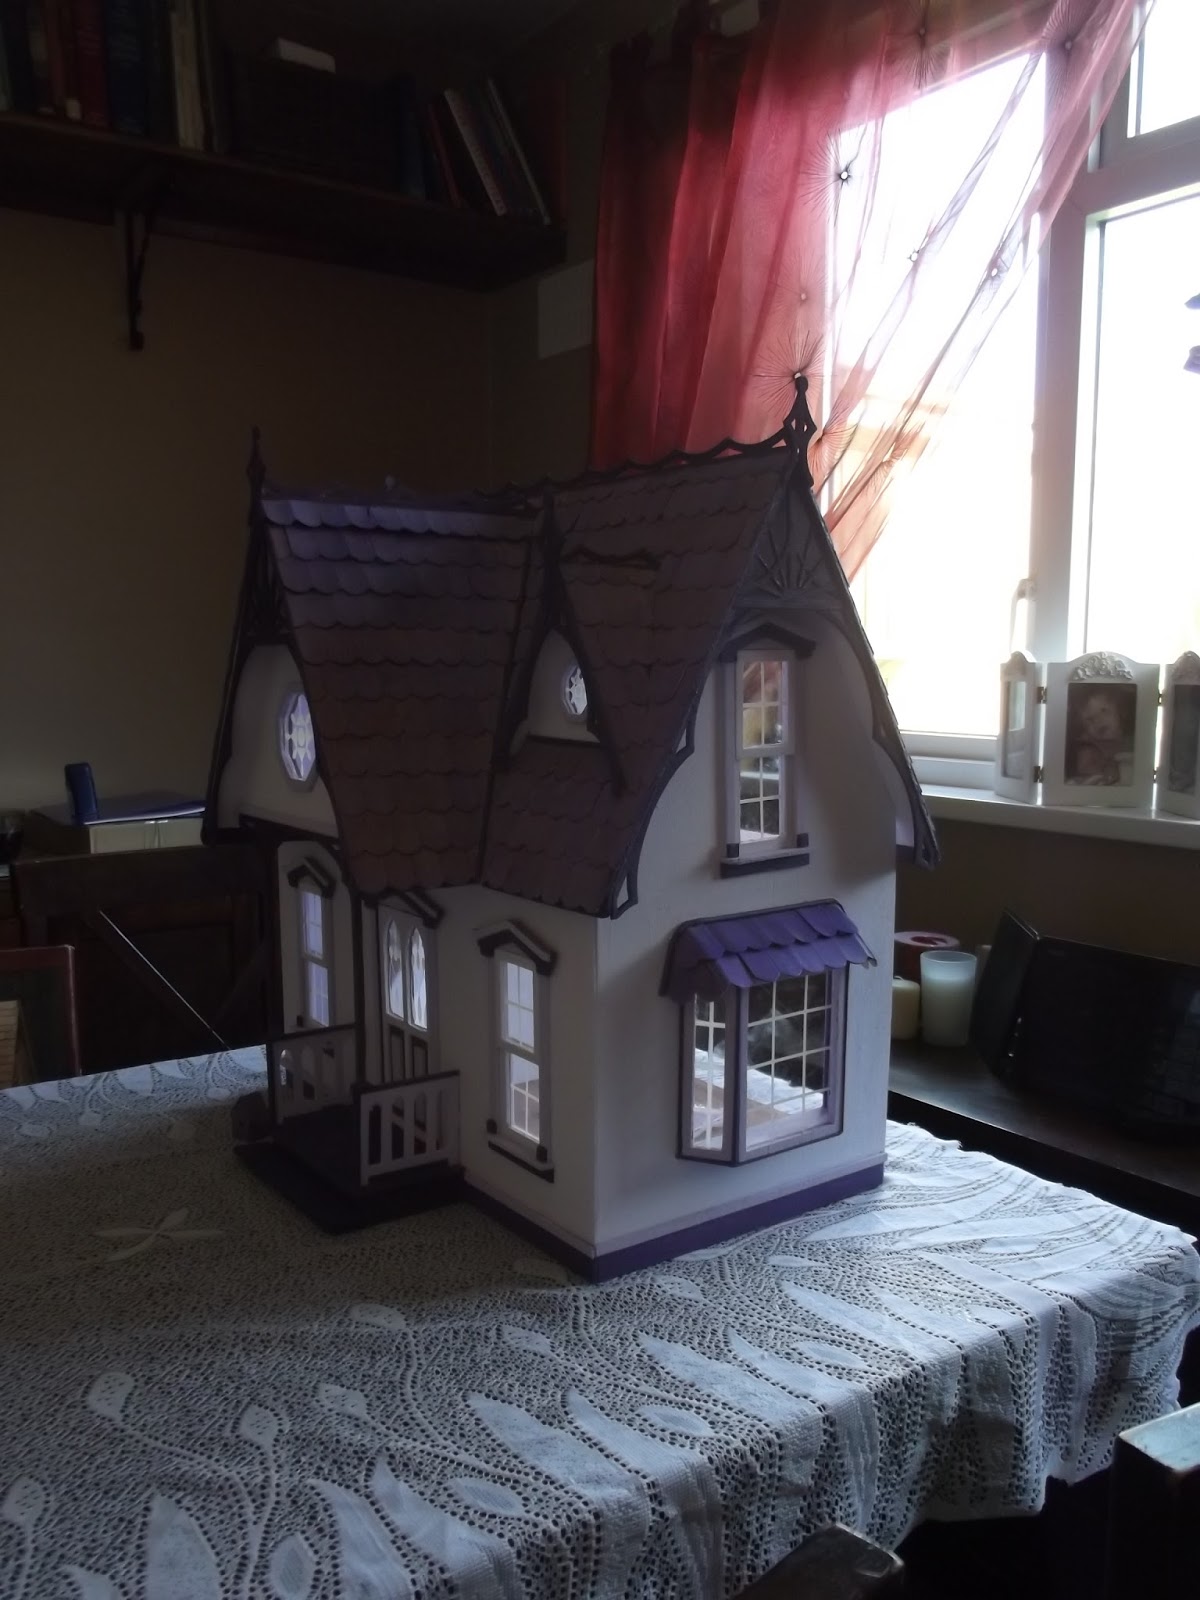
Orchid Dolls House... Project
The Orchid Dolls house... in the making :)
Drawing the lines on the roof to line up the shingles was such a pain!
Decorating was easy - everything purple :)
The shingles weren't painted - they were washed with a watered down ink solution :)
Purple Orchid Cottage
Some of the items I made for the purple dolls house - a bread bin and spice rack, and paper flowers - pansies and snowdrops :)
Sunday, 4 March 2012
Forever Christmas... And Pookie The Yorkie
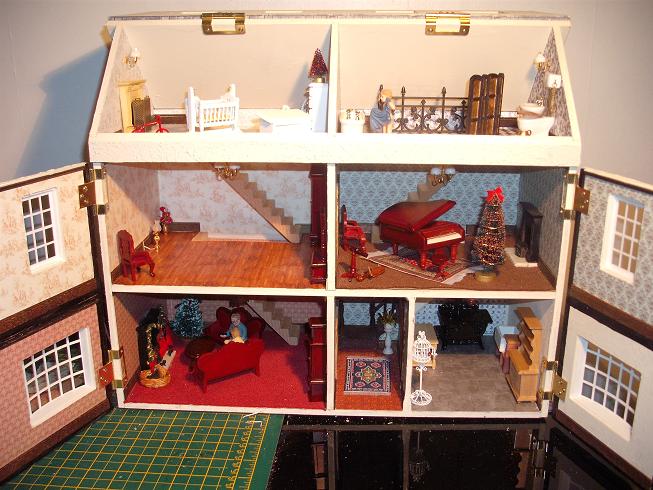
Just a quickie post to show how the house is coming along. As I'm deciding on curtains and pictures for my dolls house, Hubby is stripping the walls of the stairwell in the real home and deciding on how he's going to redecorate that part of the house. Anyways... here's how the dolls house is coming along - remember it's only 1:24th scale (1 foot in real life is equal to 1/2 an inch in dolls house reality) so it's all a bit... well, tiny really :)
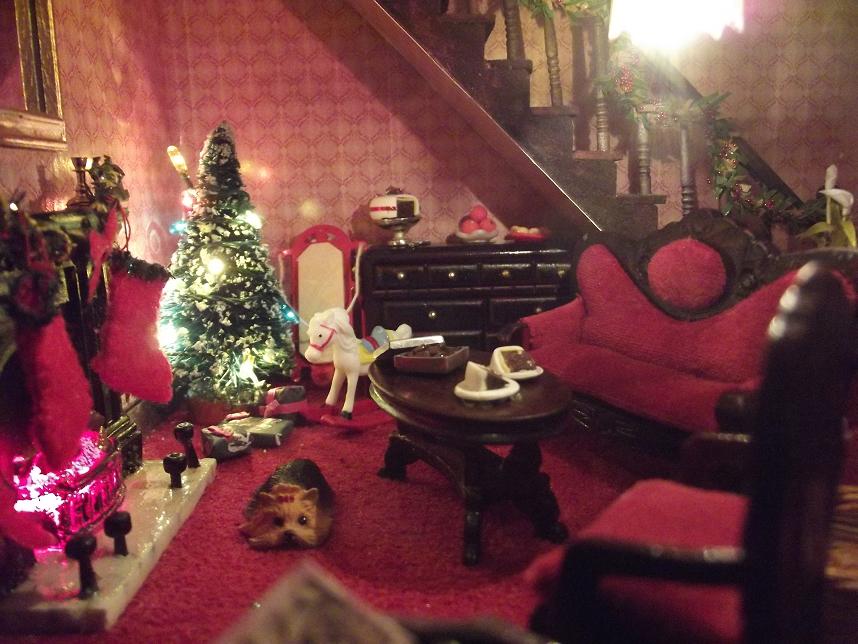
It's a bit unclear, but I've added 'swagging' to the bannisters in the front room and the dining room, as well as above the doors in those rooms too. I'll show a close up of the front room which you may be able to see the swagging in a little clearer... with a little true story about the dog laid in front of the fireplace...
This little yorkshire terrier with the bright black eyes has her own little woven basket, but I reckon she'd like the warmth of the fire instead... so that's where she lays out. On rearranging the furniture, I placed the doggie further back into the room one day - nearer to the Christmas tree. The next day, the dog was back in front of the fireplace. I thought that perhaps I'd moved her and forgotten about it... Another rearrangement of furniture a few days later, and I put the yorkie on the sofa, as I'd placed the coffee table closer to the fireplace. The following day, little Pookie (as the yorkshire terrier is now known) was squashed into the little gap between the coffee table and the fireplace. I moved the furniture back into the original position, and placed Pookie on the floor, but facing towards the tree. Closing the front of the dolls house, I left the room and didn't return until the following day. I left it as long as possible before opening the dolls house... to find Pookie back in her usual place! I just leave her alone now... that spooky dog.
As an added note, I have to let you all know that a few weeks ago I found furniture knocked over in the dolls house front room, and Pookie 'sleeping' in the master bedroom on the bed. Now, Pookie had behaved herself for a while now and had not moved at all, so I suspected that there was more 'spirits' than 'spiritual' happening here...
I called downstairs to Hubby and told him that the furniture in my dolls house had been knocked over. "Perhaps the dog did it when it ran up the stairs to the bedroom" he replied. That's the last time Hubby is allowed any where near my craft room after he's been out for a drink with my dad!
Friday, 27 January 2012
My Perfect Kitchen?
Well, no... my miniature dolls house kitchen is something I'm quite pleased with, but by no means would it be my perfect kitchen. No washing machine, cupboard space or electric kettle :)
Still, as I said... it's almost complete and I'm quite chuffed with how it's turned out. All I really have to do is add a few touches and some curtains to the window...
I decided on having no coving in the kitchen, and only painted the walls in magnolia with some added texture. The tiles made a nice statement on the far wall... and most of my time was spent on the floor as far as decorating the room is concerned. I liked the paper effect of the flagstone flooring, but wanted something a bit more tactile. So I used ModPodge (satin) and when it was almost dry, I went around each flagstone with a cocktail stick.
Saturday, 7 January 2012
Dollhouse Kitchen
The kitchen is different to all the other rooms in the house, as it is painted over a paper base, and has no coving. I decided to tile the back wall, as this is where the range-oven will be. All the other furniture will probably be moved around... I have no idea exactly where anything is going yet :)
A Close-Up Of The Rooms
A close-up of each of the rooms will show the wallpaper I have chosen, the furniture I've been bought (and bought myself) and some of the staircase construction. Hardest of all was the hallway, as this had to be designed from scratch, and I am an absolute amatuer at this kind of design and building work! Mrs Ames, I'm sorry I didn't think I'd need all that stuff you tried to teach me about angles in Math class! *lol*
![]() |
| CONSTRUCTING THE STAIRS |
![]() |
| THE STAIRS IN PLACE |
![]() |
| BELLA IN THE LOUNGE - SHE'S NOT ACTUALLY PART OF THE PERMANENT DECOR :) |
Getting Decorated
How quickly a month races by! Of course, with Christmas taking up my time for most of December, I haven't had much time for any crafting whatsoever! The New Year feels awfully strange - like I'm still trying to get back into the rythym of 'normal' life... maybe everything will be back on kilter by about March? *lol*
Well, the outside of the house was finally completed!
I haven't yet put 'panes' in the windows, and this photograph doesn't show the little letterbox I've since bought and added to the front door. Where I blocked one of the doors, I shall probably make of buy a miniature holly bush... or a winter-white rose bush.
I've also decorated the inside, and have discovered that the wallpaper I design, make, and print off myself is a LOT easier to handle and stick up than shop-bought papers. The only shop-bought paper I used was for the lounge - and there is a HUGE ripple in it at the bottom of the staircase. I tried all sorts of glues - from proper wallpaper paste for dolls houses (not brilliant), watered down PVA (not very adhesive) to just normal, cheap PVA spread as thinly as possible(excellent!).
Wednesday, 7 December 2011
Get Painting!
I've laid flooring and have painted the outer of the house. Everything had to have a base coat first - cheaply done, as Hubby had a can of Magnolia Emulsion just festering away in the corner of his shed. I wanted the outer colour to be a blue-ish grey sort of colour... so I used re-inkers (Weathered Wood and Vintage Photo) to colour the paint. The cute little brickwork at the edges of the house and at the top windows was also done by me - I bought a stencil and some of this mortar powder that I had to make up into a paste. Talk about messy! Apparently, these little corner bricks are called "quoins"... what an adorable word *lol*
I'm trying set the house out as though it were a truly livable space - so I've blocked off one of the doors and made a hallway inside. This has made the kitchen a lot smaller - but it won't have a lot of furniture in that room anyway - though I am pleased with how that flooring turned out. I bought flagstone paper, and then covered it in a few layers of modpodge, scratching out the outline of each flagstone tile with a cocktail stick before the modpodge was fully dried. I thought it was quite effective...
Wednesday, 23 November 2011
More Furniture
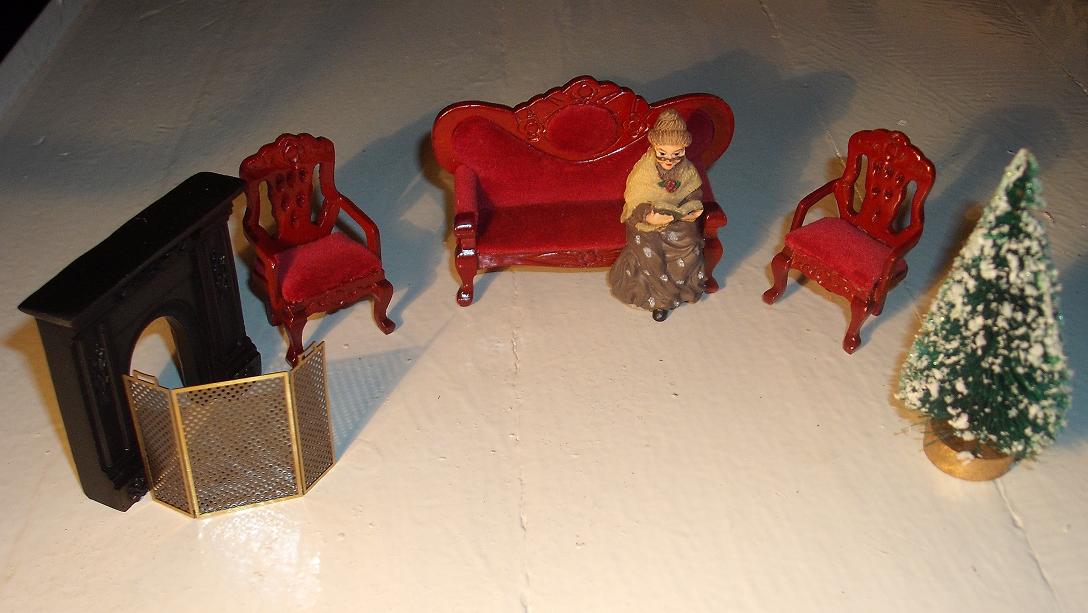
Just a quickie peek at the furniture that Hubby bought me... well, I say he bought it - actually I bought it ... I just used his bank card to pay :)
I couldn't resist the little grandma sat reading her book! And of course there's a Christmas tree too...
It All Starts Here...
It doesn't look like much at all right now... just some bare chipboard pieces, cut into strange shapes and stacked together into a rough-looking house shape:
... and it's not actually a house... it's two shops, but I liked the double-front opening, and thought I could make something personal and unique - a dolls house just for me!
Bearing in mind, that I have never owned a dolls house before (even as a little girl), and so everything I attempt to do will be trial and error (with less of the 'error', I hope! *lol*). I don't know what special products I'll need, or where to buy them either... but I have done a little bit of 'scouting' on the internet to see what I might be able to do, and where I may be able to buy things in the UK.
The two shops are supposed to end up looking a bit like this:
It's going to be interesting to see just how alike or different my version will be :)
A New Adventure...
This coming Christmas (2011) my Darling Hubby bought me something I always wanted... a dolls house (and he gave it to me early so I could build it in time for Christmas Day!)
It's a 1:24th scale little house that I am hoping I will make, decorate, and fill with tiny treasures, over the next few years.
As I buy or make things, I'll post them here - whether they may be fantastic finds, or abyssmal failures *lol*
Subscribe to:
Posts (Atom)